Set up your workspace
Deathpile mirrors the way your stock is stored in the real world. Set up the broad location first, then the kind of container, then each numbered physical unit.
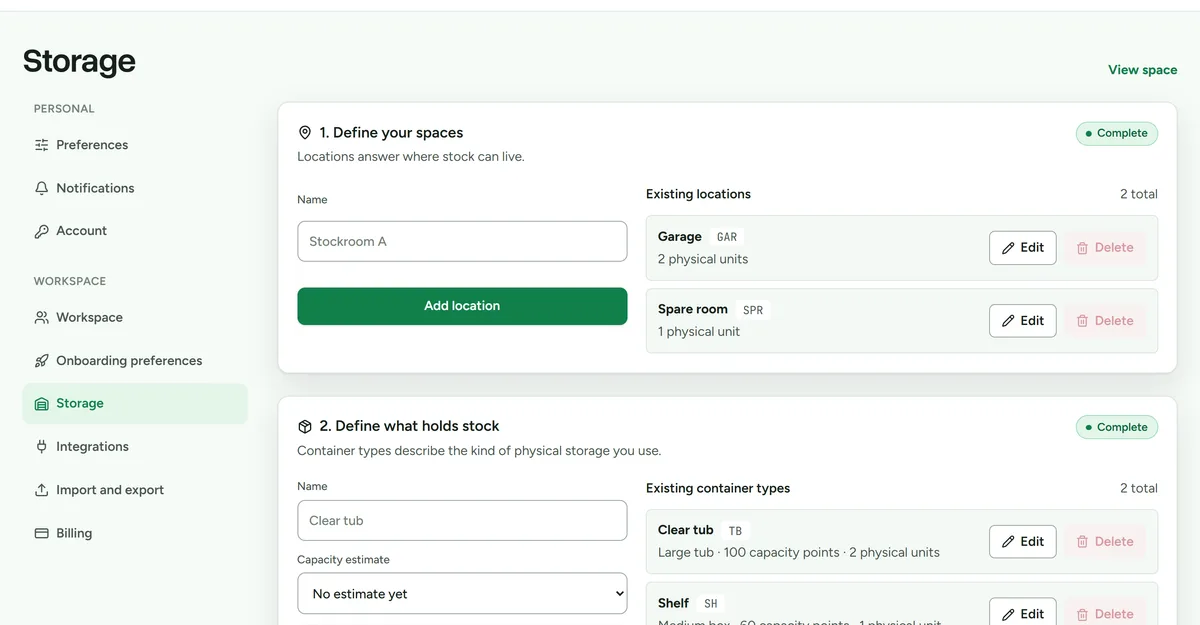 Storage settings, where locations, container types, and physical units are created.
Before you begin
- Confirm your email address and finish the initial workspace questions.
- Decide on clear names for your storage areas, such as
GarageorStockroom. - Decide how you identify physical tubs or shelves. A simple number is enough.
Create the storage structure
- Open Settings > Storage.
- Add a location for the room or area where stock is kept.
- Add a container type, such as
Clear tub, and set its capacity estimate. - Add each physical storage unit under that location and type.
- Give each unit the same number or name that appears on the real container.
The first successful location or storage-unit setup can start the workspace owner's one-time 14-day trial. A member cannot start the trial before the verified owner completes an eligible setup action.
Expected result
The physical units appear in Space and are available when you add or move an item. Capacity begins to calculate once placed items have a size.